Posted 11/25/2015
In my last episode of “The Perils of Pauline” (aka Printrbot Simple Metal Glass Print Bed Issues), I described a set of measurements and print tests that ultimately led exactly nowhere, except maybe to the conclusion that Printrbot’s vaunted ‘Auto-leveling’ (more accurately ‘bed tilt correction’) wasn’t all that effective, and might even be part of the problem rather than part of the solution.
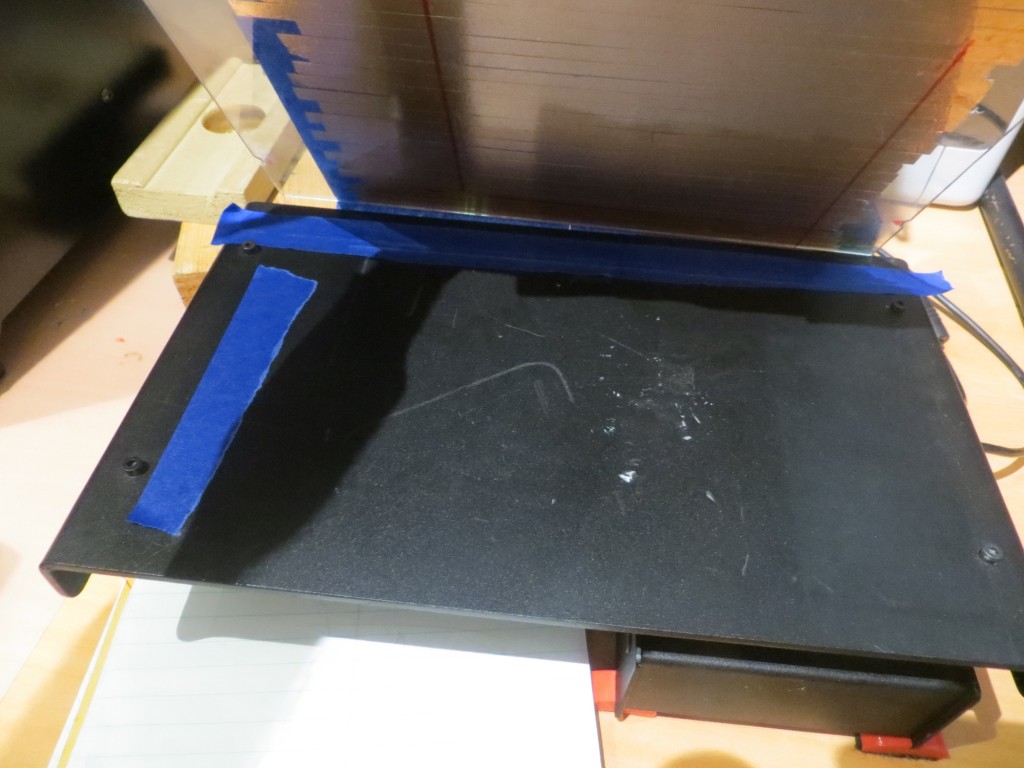
So, in this episode, I decided to manually level the glass print bed with painter’s tape shims, to see if I could get better prints that way. To do this, I used the existing Z-axis probe, the G29 ‘auto-level’ command, and the G30 ‘Z-axis probe here’ command. The G29 command tells the Printrbot to probe the Z-axis at three pre-configured points ( (10, 150), (10,10) and (150,10) in my case), and the G30 command tells it to probe the Z-axis wherever it happens to be (I used this to probe the bed at (150,10) – the rear right corner). Between these two commands, I could measure the print bed surface height at all 4 corners and adjust accordingly.
From previous measurements I knew that the bed tilted upwards from the rear to the front, and from left to right. Therefore I started out by moving the single layer tape shim from the front edge, and adding a single layer shim along the left edge. After three or four iterations, I wound up with two tape layers on the left and rear edges, and the resulting probe measurements were within 0.2mm everywhere. It’s hard to get much closer than that, due to variations in the probe results.
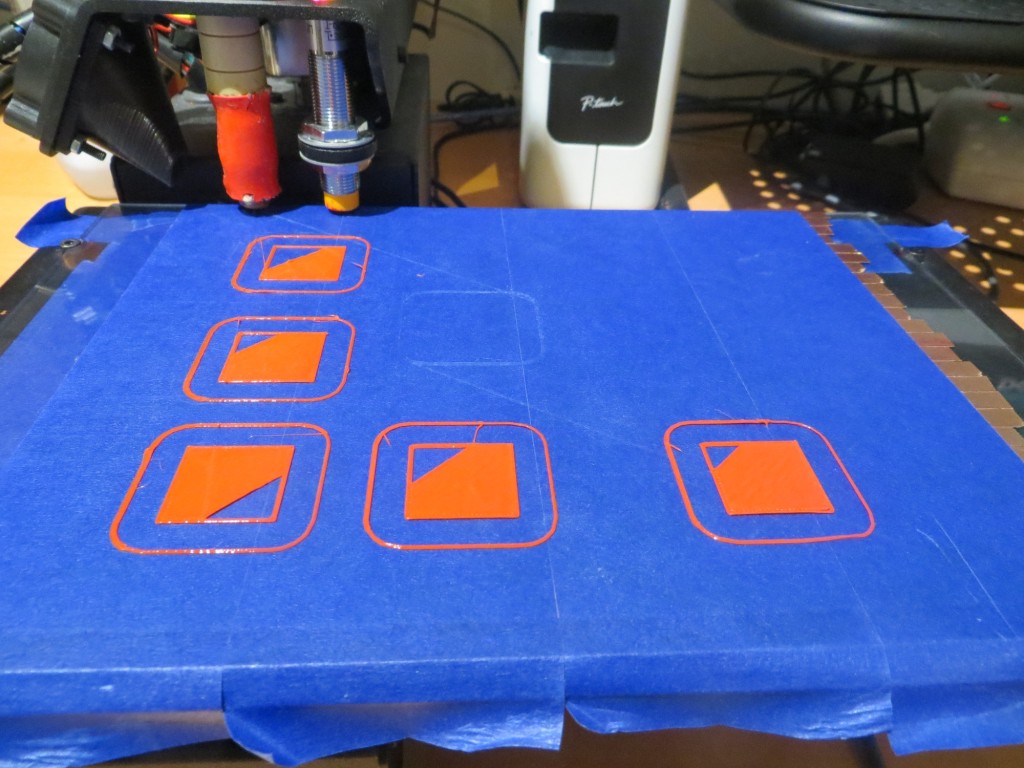
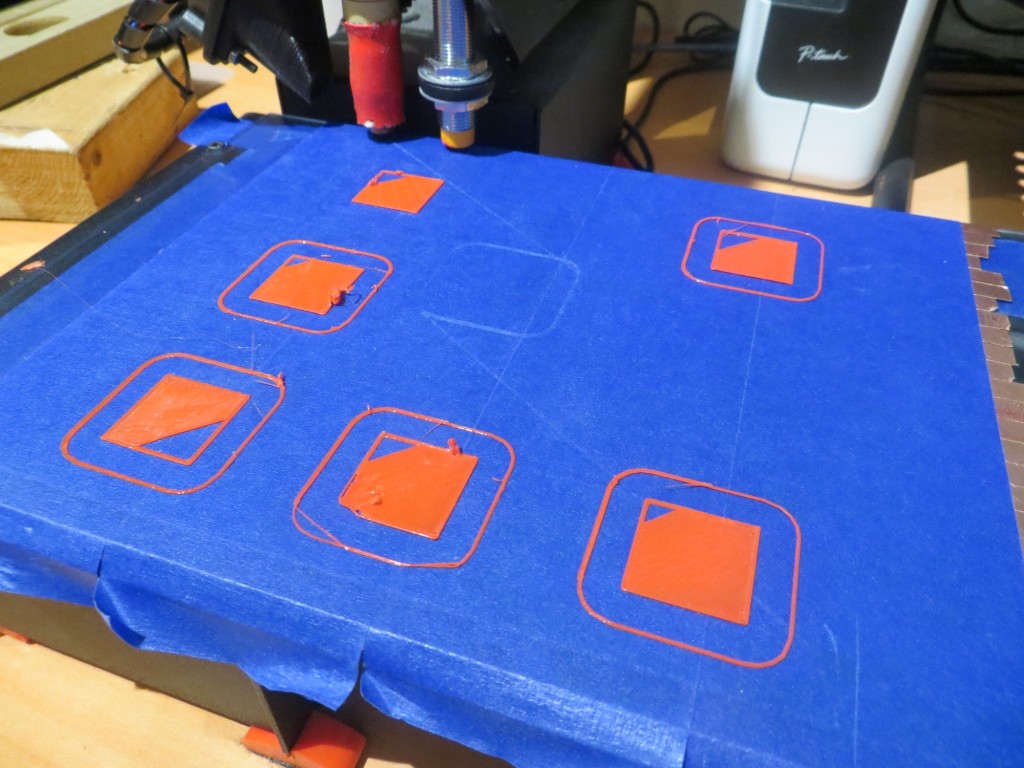
After getting the bed as level as I could, I ran another set of test prints. As shown in the photo below, all 5 positions printed successfully. I also noticed that the Z-axis worm gear moved noticeably less during print operations, providing an additional indication that the print bed was in fact pretty darned level.

All positions printed successfully, although the front right (Position 5) print was very lightly attached
When I removed the test prints from the bed, I noticed that the near-right (Position 5) print was less well attached than the others, and in fact the attachment quality improved as I went from Position 5 to 4 and then to 3. Positions 3, 2, and 1 (all in the same vertical line) seemed to all be nicely attached. So, the actual print results indicate that the extruder tip is getting farther away from the print bed as it progresses to the right, but the Z-axis probe measurements indicate the exact opposite situation – the print bed actually gets higher as it goes from left to right! How can this be? Well, based on everything I have learned to date, I now strongly suspect that the answer is that the tilt correction algorithm is correcting the wrong way somehow. Maybe the fact that the Printrbot’s ‘home’ position is at (Xmin, Ymax) rather than (Xmin, Ymin) is causing a sign error somewhere, and this is causing the Printrbot to correct the Z-axis up for movements in the positive X and negative Y directions when it should be correcting it down. This theory tracks with what I have experienced so far, as it would imply that the closer I can get the plate to absolute level, the smaller the error would be, ultimately going to zero error for a perfectly flat plate. Of course, if I’m right, I should be able to somehow track down and correct this sign issue, and therefore convert what is now a force for evil into a force for good – arggghhhh!!!!
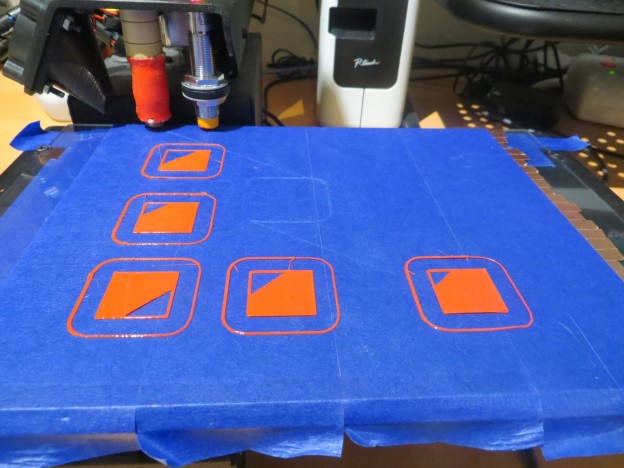
Late addition: After posting this to the ‘Printrbot Talk’ forum, I got a note from ‘Retiree Jay’ to the effect that I could disable the tilt correction function entirely by omitting the ‘G29’ command from the startup script, leaving only the ‘G28 X0 Y0 Z0’ command. So, I did this and ran another series of test prints as shown in the following photo. As you can see, all prints were successful, even the added Position at the right rear of the print bed. And even better, Retiree Jay was correct in that the Z-axis motor did not run at all (up or down) during prints of a specific layer (since I printed only one layer for each position, this means that the Z-axis motor didn’t run at all during the entire print series. This pretty much proves that my new glass plate is flat across the entire print area; “Tilt Correction? We don’t need no stinkin Tilt Correction!” ;-))

Print series with tilt correction disabled. “Tilt Correction? We don’t need no stinkin Tilt Correction!”
Stay tuned,
Frank


Pingback: Glass Print Bed for Printrbot Simple Metal – Part V - Paynter's Palace